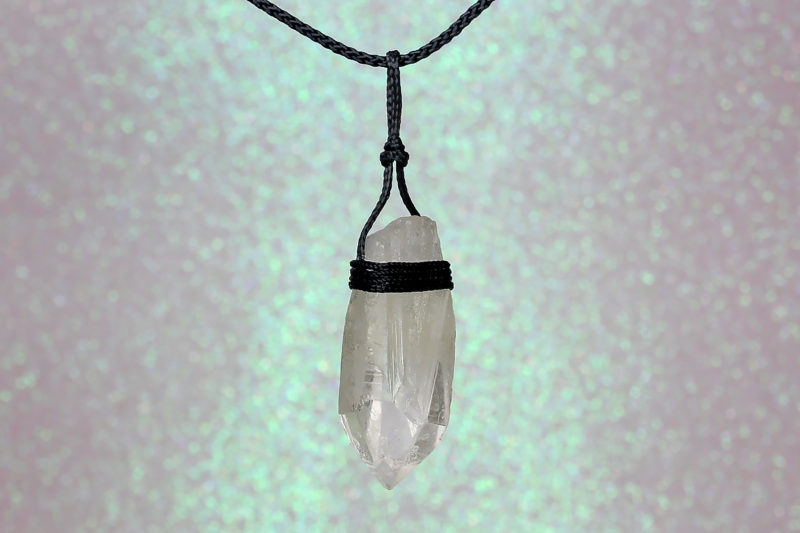
Today’s Star Wars fashion DIY is Jyn Erso’s Kyber crystal necklace from Rogue One. I was instantly excited to see the necklace when it was revealed in a trailer, and hoped to see a licensed replica version released. As yet, Kay Jewelers is the only licensed company to make a version that I can find, and alas, their beautiful necklace is a little beyond my budget. So, determined to have my own Kyber crystal necklace, I made my own!
My necklace is not an exact replica, as the real one has appears to have a hole drilled through for hanging. Quartz crystal requires a Diamond drill tip to cut into – a process that takes care and skill. I wanted mine to be a fashion version that I would wear everyday, but still make myself. So, here is my version that only uses 3 things – a Quartz crystal, cord and glue (plus a few on-hand tools like scissors and tweezers).
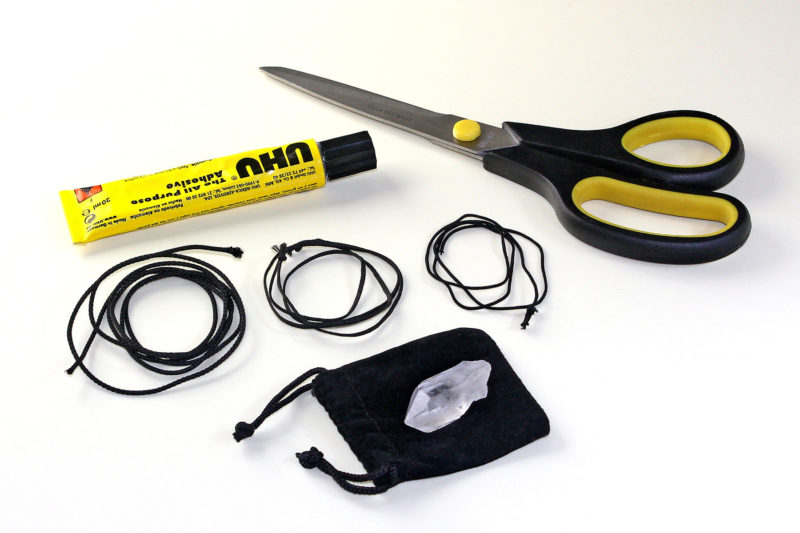
I used 3 different sizes of black synthetic cord, as it was what I had on hand (I store a lot of costuming supplies), but you can use the same cord for all 3 steps if you prefer – or leather cord for a more rustic finish. My actual used lengths were slightly shorter, but I found it was easier to tie knots with a little extra length to work with, and trim off when finished.
- 20cm length cord for hanger knot
- 30cm length cord for wrapping
- 90cm length cord for necklace
- Small crystal
- Clear craft glue
- Scissors
- Tweezers
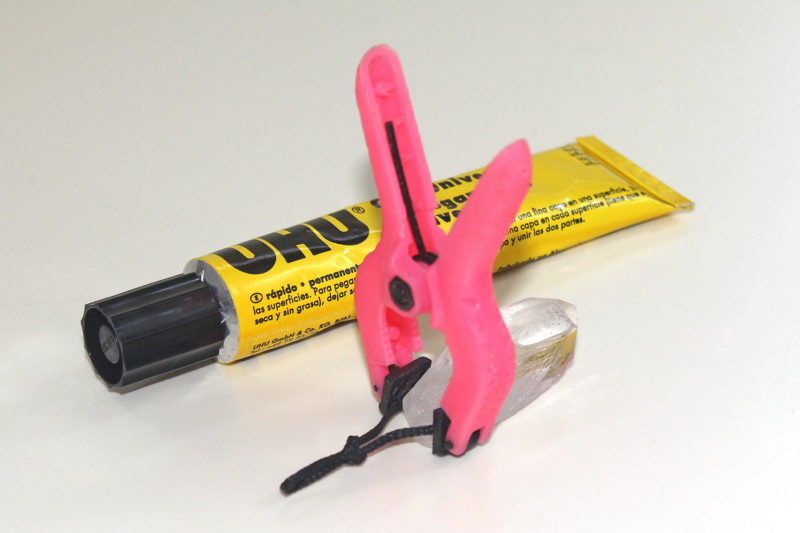
- Also useful – ruler, small clamp/peg
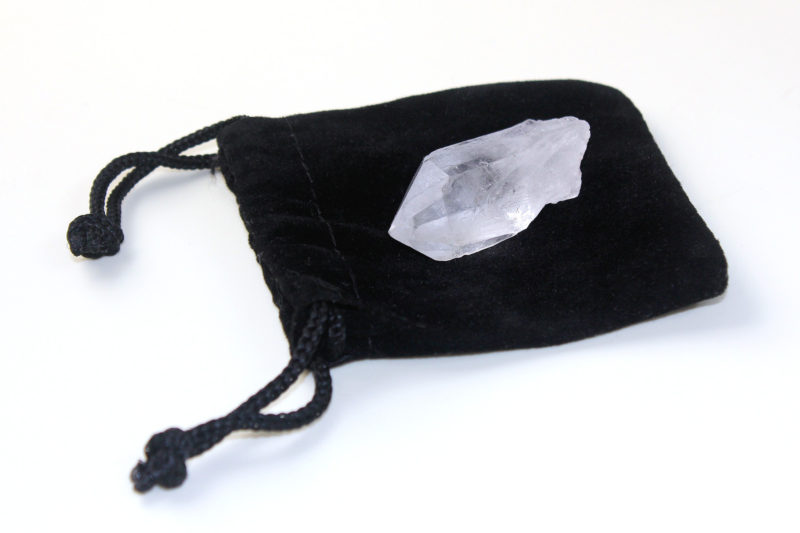
The first step for this project was to find my crystal. I visited my local crystal store (Rivendell World), which had a great range of loose, random shaped Quartz crystal stones. I felt like a Jedi, sorting through the crystals, until I found the one that called to me. It was just the right shape and size for my necklace project – and it was only $3! I knew it would be pretty hard to find something exactly like what was used on screen, but I think I found one pretty close in shape. I like that my crystal is unique, and it really reminded me of a Kyber crystal.
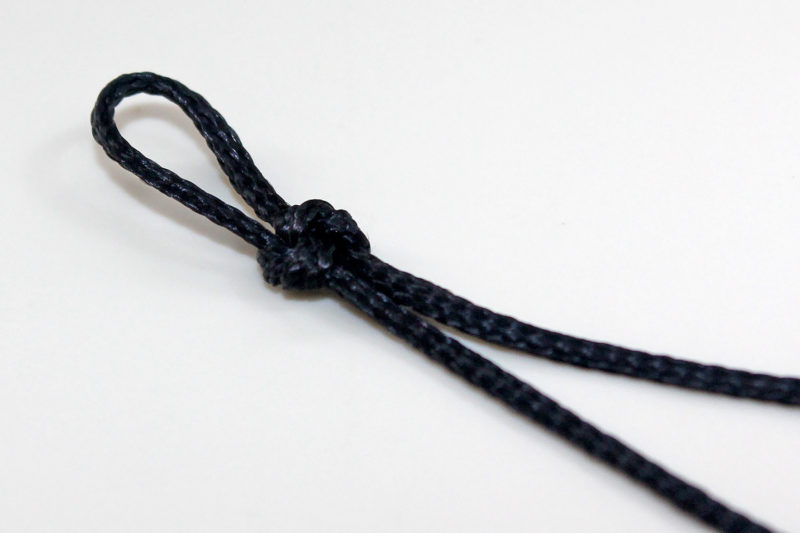
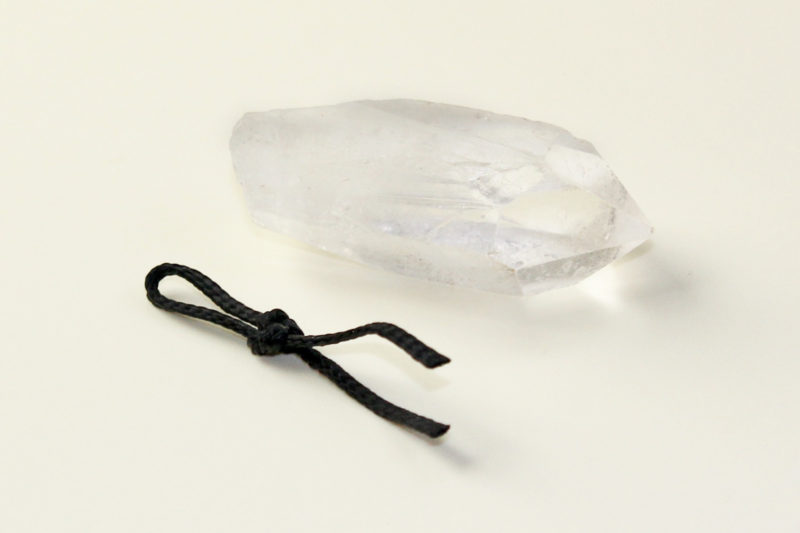
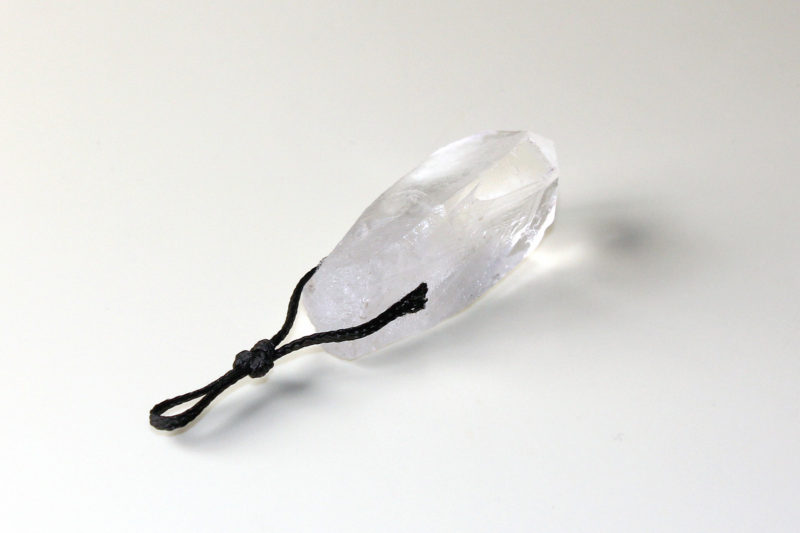
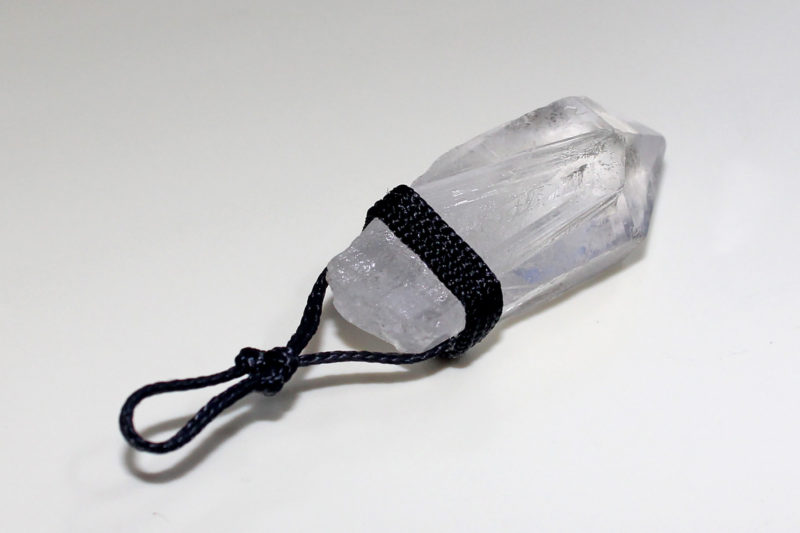
I took a length of cord (I used my ‘medium size’ cord), about 20cm long, and tied a hanger knot in the middle. I used the helpful instructions here – it is fairly easy, and you can adjust it as you are tightening it to control the loop size. Once you have your knot, hold in in place around your crystal to determine the right length, then trim the ends.
I glued each end of the hanger knot cord to either side of my crystal. I used UHU glue (a craft glue I’ve used for years), but other strong clear glues like E6000 will work too. I let the glue set for the advertised time (24 hours for my glue), with a small clamp to keep the cords from moving, as a precaution.
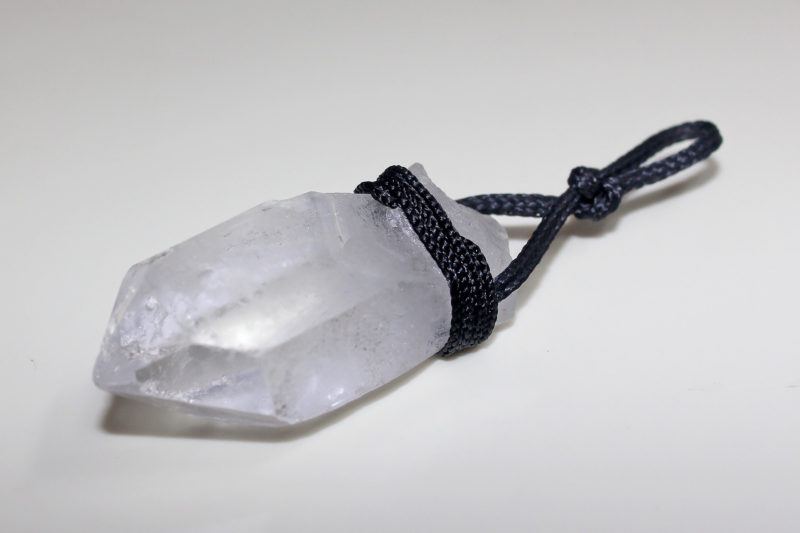
Next I took my wrapping cord (my ‘smallest size’ cord), and glued one end to the back of my crystal, about the same level as the ends of the hanger cord. I let this fully set – again, about 24 hours, or the time advertised by your glue. Once fully set, I was ready to finish wrapping the crystal. I put a line of glue around the crystal at the level I wanted my wrapping cord, and carefully pulled the cord around. The glue I used stays sticky for a little while, so I could adjust the strands to sit tightly together.
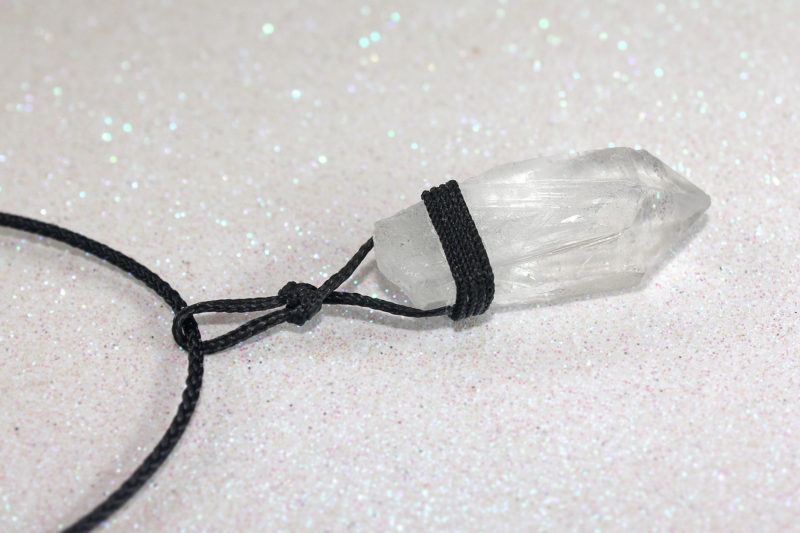
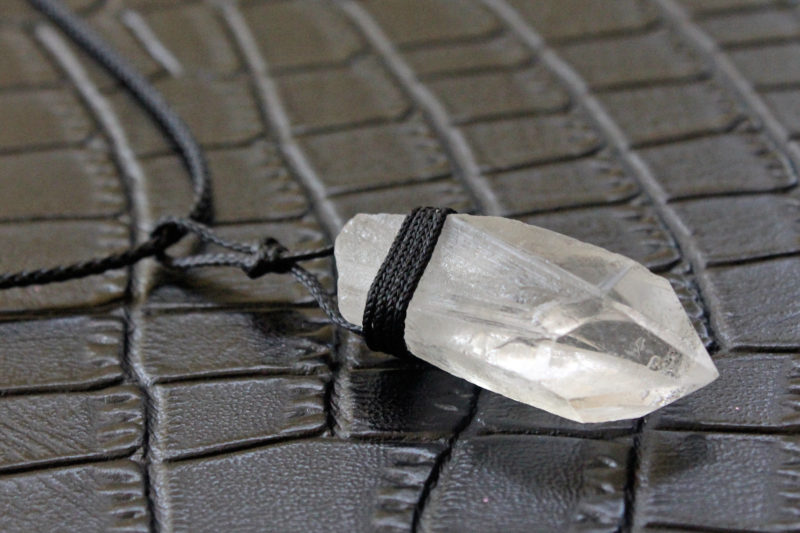
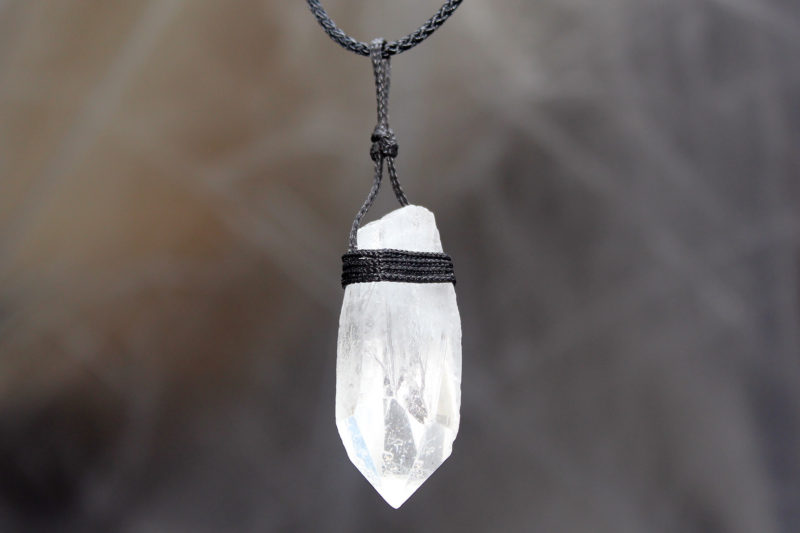
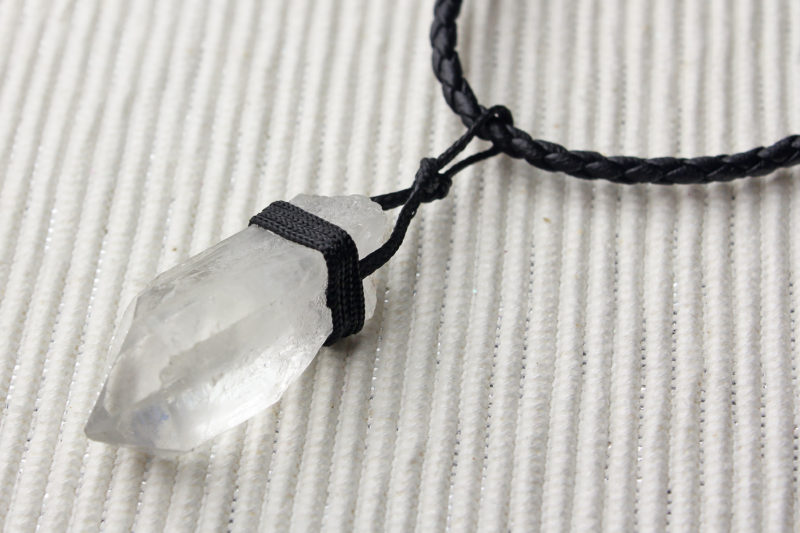
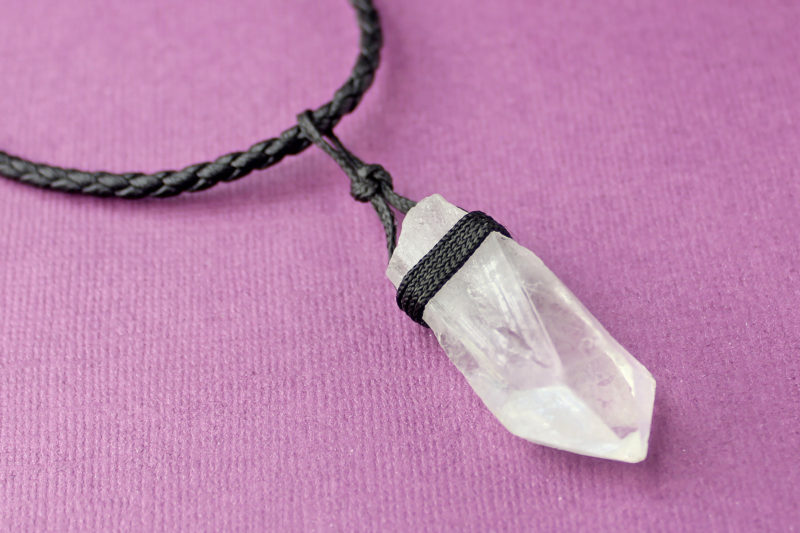
I wrapped the cord around 4 times, and brought the loose end around to the back where the first end was glued down. I trimmed the cord end to the right length, put a dot of glue on the end, and used tweezers to gently push the end under the wrapped strands. This gives the wrapping a nice tidy finish, and secures the end. Now I have my finished crystal pendant with hanger cord. I let the glue fully set, before moving on to the next step.
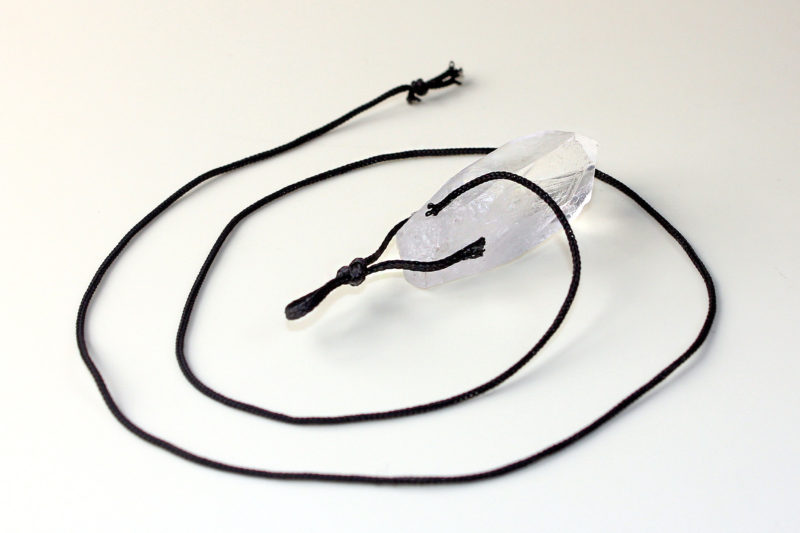
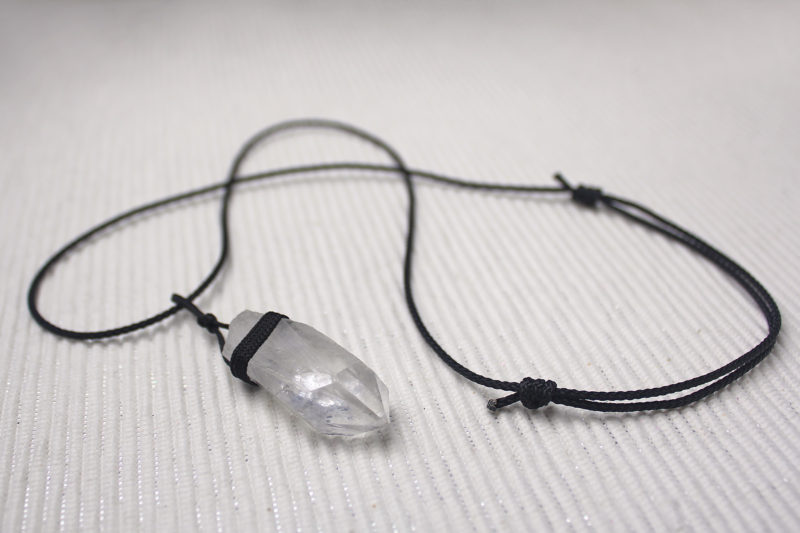
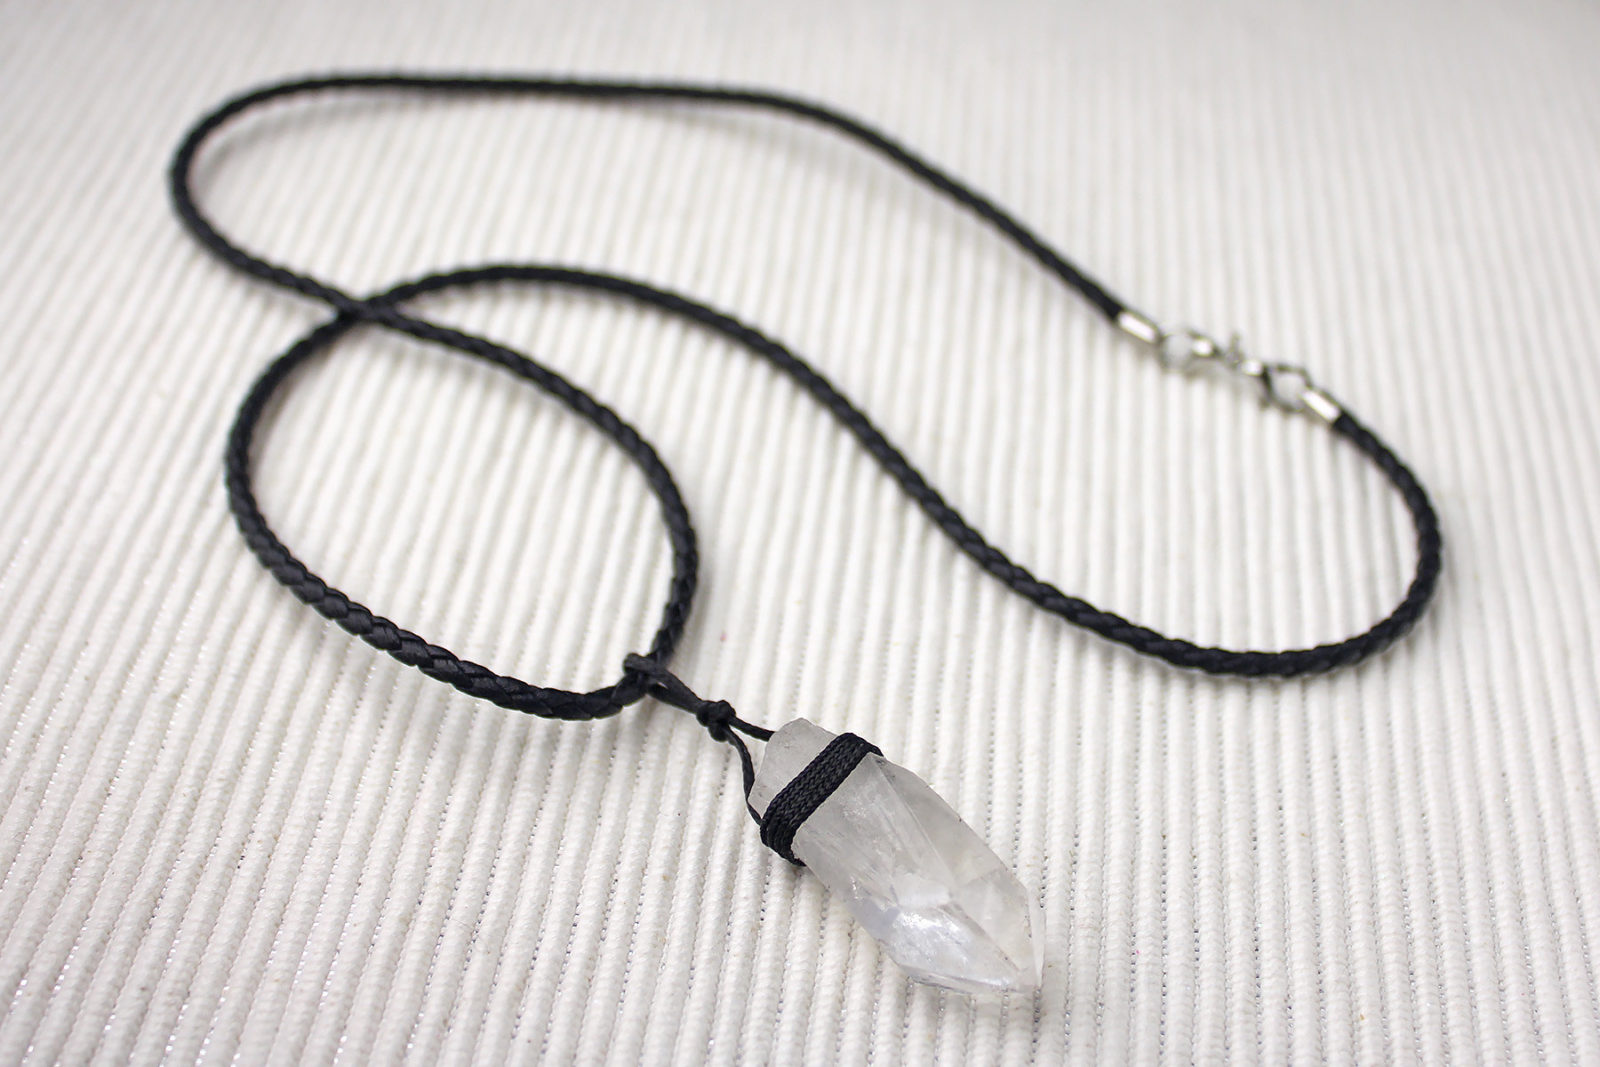
I took a length of cord (my ‘largest size’ cord), and cut a length approximately 90cm (you can use shorter/longer, depending on your preference). I threaded the hanger loop onto the necklace cord, and tied the first end in an adjustable slider knot – following these easy step instructions. Then, tie another slider knot for the other end – you can slide the knots around to find your preferred length.
Once you have your length all set, trim the loose cord ends. You can tie a small knot at the tips of your cord to stop any unravelling, or if you cord is synthetic (as mine is), you can carefully melt the ends with a match/heat to seal it (test it out on a spare piece if you are unsure).
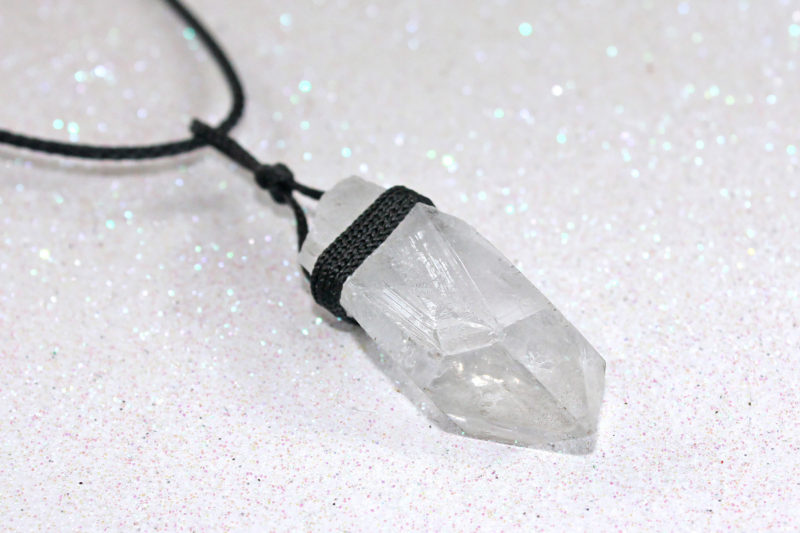
Woohoo! A finished Kyber crystal necklace! I am so happy with how my necklace turned out, it looks exactly as I hoped. The Quartz crystal makes such a pretty pendant, and now I can carry a little bit of Jedi inspiration with me wherever I go.
The Force Is With Me. I Am One With The Force.
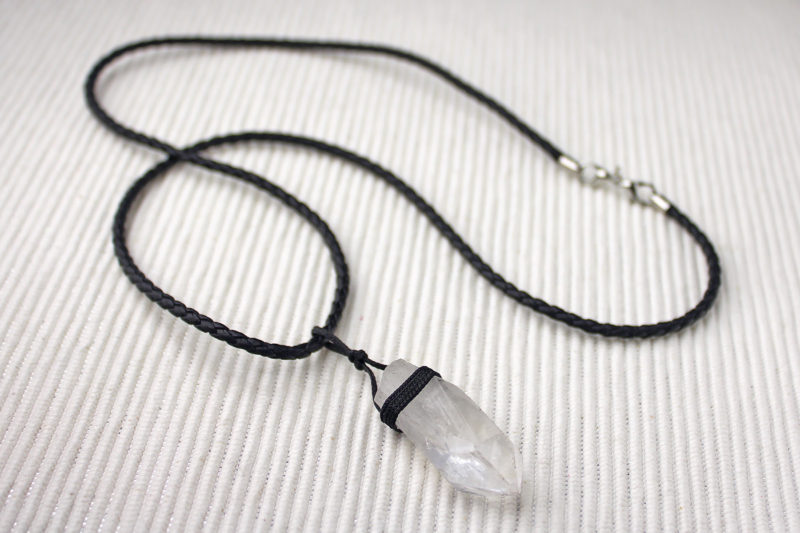
Alternatively, you can hang your crystal pendant from a pre-made/store bought necklace. I happened to have this black leather necklace on hand as an example, which is available from ThinkGeek. If you are going to use a necklace with jewelry hooks, just remember to make your cord hanger loop big enough to fit the hook through.
I just love my necklace, it feels so special to have made it myself. This is the perfect subtle Star Wars necklace – to me, it will always be a Kyber crystal, but to anyone else it is a very pretty Quartz necklace. I can wear this with Jyn Erso or Jedi themed outfits – or with any regular outfit, it looks beautiful with everything.
I hope you have found my DIY project helpful – I’d love to see other DIY Kyber crystal necklaces! The neat thing about this project is that every crystal is unique, so everyone’s necklace will look different. May the Force be with you!

